Print patron barcode labels
Destiny lets you print patron barcodes as labels – individually, as a sheet, or as a list.
| Example: You print a sheet of barcodes per homeroom. When that homeroom has library time, you can pull their homeroom patron barcode sheet and quickly get students checked out. |
| Important: The first time you print barcodes, test them for usability. |
In addition to printing a single patron barcode label, you can also print several patron barcode labels or a list of barcodes.
Print a single patron barcode label
- To access the ‘Print label for patron’ page, do either of the following:If you select…Then…Admin > Manage Patrons
- In the Find field, scan or type the patron’s barcode to search for a patron.
- Next to the patron record, click Edit.
- At the bottom of the page, select the Print Label on Save checkbox.
- Click Save.
- In the Find field, scan or type the patron’s barcode to search for a patron.
- If a list of patrons appears, click the patron’s name.
- Click Print Label.
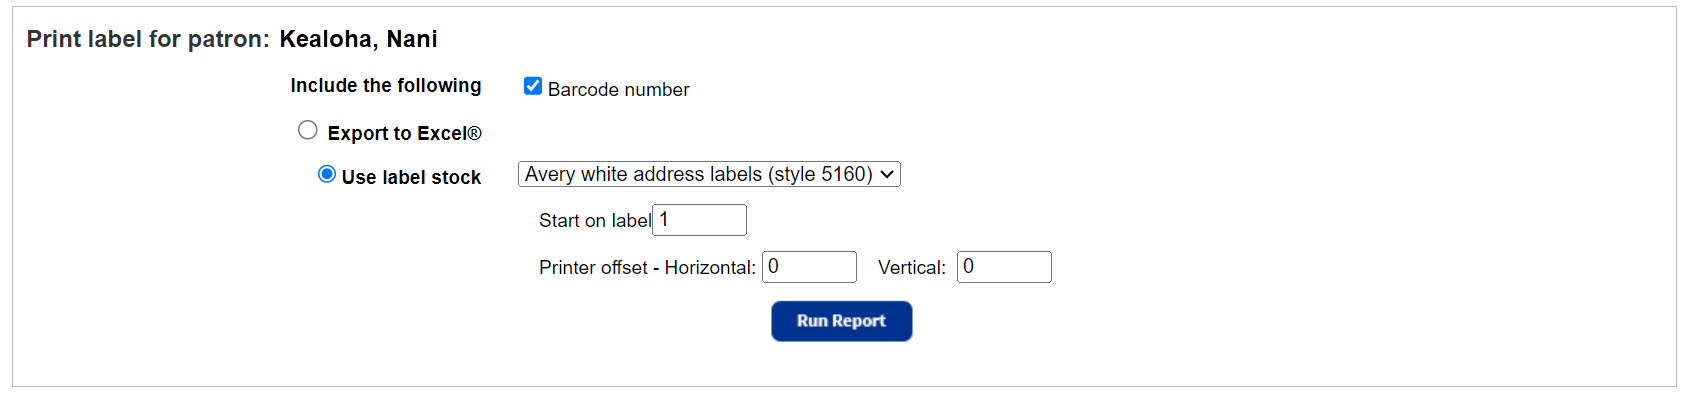
- If you do not want the barcode number on the label, next to Include the following, deselect the Barcode number checkbox.
- Select the output:If you want to…Then…Print on labels
- Select Use label stock.
- Use the drop-down to choose one of the preloaded label stocks.Note: Stock from other vendors may not work as well. Make sure to print a test page on plain paper.
- To continue using partially-used label sheets, enter the number of the next available label in the Start on label field.
- If necessary, set the printer offsets to fine-tune the printing alignment on the barcode labels.
- Click Run Report.
- When the Report Manager opens, click View. The report opens in a browser.
- Do one of the following:If you want to…Then…Download the label sheetClick
 .Print the labels
- Position the label stock in your printer.
- Click .
- Set the print settings.Important: Set to:
- Scale at 100%.
- Print on one side.
- Click Print.
Print several patron barcode labels or a list of barcodes
You can print an entire group of barcode labels, a list of barcodes for existing patrons, or new barcode labels that have not been assigned to patrons yet.
To print used (assigned) patron barcodes:
For used barcodes, the labels or the two-column list contain the patron’s scannable barcode, barcode number (if selected), and patron’s name.
- Select Reports > Patron Reports.
- Under Labels/Cards, click Barcode Labels.
- Click the Used tab. The report setup page appears.
- Use the following table to fill in the fields:FieldDescriptionForNote: This drop-down only appears at the district level.Select a site from the list.Select bySelect a method for identifying the patrons:
- If you selected Patron Name, Grade Level, Graduation Year, or a user-defined field, select the range.
- You can limit to one patron name, grade level, graduation year, or a range.
- All patron names, grade levels, or graduation years: Leave both fields blank.
- One patron, grade level, or graduation year: Enter it in both fields.
- Up to and including a specific patron, grade level, or graduation year: Leave the first field blank, and enter it in the to field.
- A specific patron, grade level, graduation year, and all those after it: Enter it in the first field, and leave the to field blank.
- You can limit to one patron name, grade level, graduation year, or a range.
- If you selected Homeroom, only homerooms to which patrons are currently assigned appear in the From and to lists.
- If you selected List of Patrons, click Update to build a list by searching for and retrieving patrons.
- If you selected Date Patron Added, select a phrase from the list, and then enter or select a date. Click the calendar icon for a calendar.
- If you selected Barcode List, either browse to an existing file, or create a list:
- To create a list, place the cursor in the Create a barcode list field and scan the barcodes, or type the barcodes and click Add. To remove a barcode number from the list, select it and click Remove.
- To select and find an existing file, click Browse.
- If you selected Patron Name, Grade Level, Graduation Year, or a user-defined field, select the range.
- From the Formatted for options, choose from the following:To…Then…Manipulate the generated report dataSelect Barcode labels > Export to Excel.Print labels
- Select Barcode labels > Use label stock.
- Use the drop-down to choose one of the preloaded label stocks.Note: Stock from other vendors may not work as well. Make sure to print a test page on plain paper.
- To continue using partially-used label sheets, enter the number of the next available label in the Start on label field. If necessary, set the printer offsets to fine-tune the printing alignment on the barcode labels.
- Select Use at the circulation desk.
- To start a new page whenever the Sorted by field changes, select the Start a new page for each group checkbox.Note: If you chose to sort by Patron Name, you cannot include page breaks.
- To print command barcodes at the bottom of each page, select Include Circulation command barcodes, and then select Library or Resource.
- Click Run Report.
- When the Report Manager opens, click View. The report opens in a browser.
- Do one of the following:If you want to…Then…Download the label sheetClick .Print the labels
- Position the label stock in your printer.
- Click .
- Set the print settings.Important: Set to:
- Scale at 100%.
- Print on one side.
- Click Print.
To print unused (unassigned) patron barcodes:
For unused barcodes, the labels contain the scannable barcode and the barcode number.
- Select Reports > Patron Reports.
- Under Labels/Cards, click Barcode Labels.
- Click the Unused tab. The report setup page appears.
- Use the following table to fill in the fields:FieldDescriptionForNote: This drop-down only appears at the district level.Use the For list to select a site.Number of BarcodesEnter the quantity of labels needed.Starting BarcodeEnter the barcode number you want to start with.Notes:
- You can enter your highest barcode, or, fill in gaps in your number sequence by entering a lower number. Destiny prints only barcode numbers that are not in use; it skips any used barcode numbers.
- To identify (and copy, if desired) the next available barcode number, click the symbology name next to the Starting Barcode field.
- If the barcode number entered is more than 7 characters, its symbology must match the symbology that appears in brackets. If it does not, change the symbology in Admin > Site Configuration before generating the labels.
- Select the output:If you want to…Then…Print on labels
- Select Use label stock.
- Use the drop-down to choose one of the preloaded label stocks.Note: Stock from other vendors may not work as well. Make sure to print a test page on plain paper.
- To continue using partially-used label sheets, enter the number of the next available label in the Start on label field.
- If necessary, set the printer offsets to fine-tune the printing alignment on the barcode labels.
- Click Run Report.
- When the Report Manager opens, click View. The report opens in a browser.
- Do one of the following:If you want to…Then…Download the label sheetClick .Print the labels
- Position the label stock in your printer.
- Click .
- Set the print settings.Important: Set to:
- Scale at 100%.
- Print on one side.
- Click Print.